US vs Iran
Aircraft efficiency and fighter escort against drone cost, vision and missile timing.
Warning sign: fighters erase every drone strategy, or cheap drones overwhelm any equal-budget defense.
Four armies on one shared rulebook: the same economy, armor table and visibility rules. What differs is how each one wins, and what it pays for that.
Command a smaller, valuable air wing that changes where the next fight happens. Ground troops claim territory and protect the airfields. Aircraft enable that army; they don't replace it.
Campaign: Operation Clear Horizon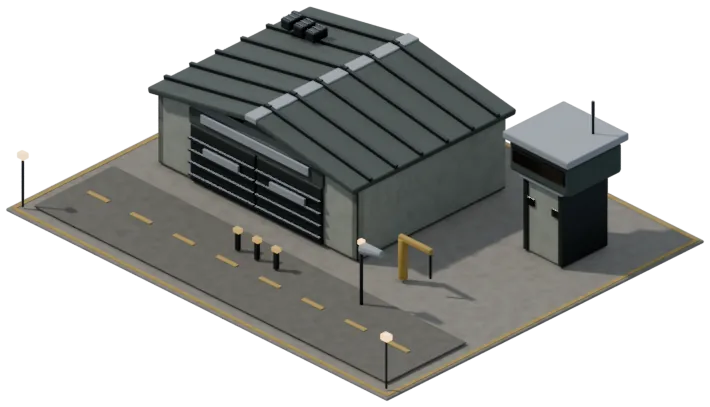
Six service slots per airfield and 20% faster rearming. Still one production queue per airfield.
Falcon interceptors follow a friendly air group and engage threats within six tiles of it. They never chase across the map on their own.
A Pathfinder marks a visible vehicle or structure. For eight seconds, US aircraft finish their attack windup twice as fast against it. No bonus damage, no fog tracking.
Transport helicopters carry two infantry squads. Shoot one down in flight and its passengers are lost, so it is never a safe teleport.
Reveals a radius-nine area of explored ground for eight seconds. Opponents in the circle see it coming.
One airfield rearms 1.5 times as fast for 15 seconds. No free ammunition, repair or endurance.
Three temporary strike aircraft bomb three visible points after a 12-second public warning. Ordinary AA can shoot them down.
Defensive countermeasures add a Decoy against the next AA missile. Airfield service crews raise paid repair from 40 to 55 HP per second.
Build a visible intelligence and fire-support network. Pressure several areas with cheap drones, then make the opponent manage finite interception against a banked volley.
Campaign: Operation Iron Signal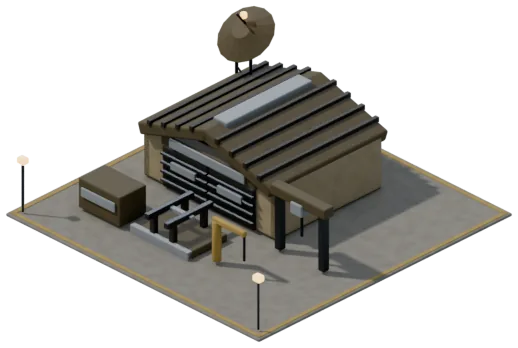
Every Iranian aircraft is unmanned, with its own HP, Supply, endurance and service slot. Cheap to buy, quick to lose.
A survey drone orbits a point for twelve tiles of sight and six of detection. Unarmed, and a priority target for enemy AA.
Launchers store two charges. Volley Order fires both 1.5 seconds apart, each with its own warning, for 600 credits.
Observers place a 200-credit sensor with five tiles of sight for 45 seconds. Three per player at most.
A one-way drone that commits to a visible ground point and is consumed on impact. Vulnerable to AA the whole way in. A recent addition awaiting balance review.
One survey drone gains three extra tiles of sight for ten seconds. It still shows an obvious relay effect.
Up to four drones gain 20% speed and head home. They can't fire while recalling.
Six interceptable missiles across three marked points in two waves, with a 14-second warning. A test of the defender's ready charges.
Distributed drone servicing cuts service times by 15%. Mobile launcher crews shorten setup to three seconds and pack-up to two.
Fight through information, cover, local surprise and fast repositioning. This invented coalition wins by making the opponent guard too many places, not through invisible damage or a borrowed air force.
Campaign: Operation Open Road
Rifles, scouts and raiders vanish after four still seconds in marked cover. Any enemy within three tiles, or recon within seven, reveals them.
The first rifle shot after six concealed seconds deals 20% more damage. One shot, then a 30-second cooldown, and a visible ready marker.
Move up to two squads between safehouses in six seconds. The exit is marked for the last three, and any damage cancels the transfer.
Destroyed enemy vehicles drop a crate worth 8% of their price, capped at 120 credits. Mechanics collect it, within strict per-minute and per-match limits.
No fighters or gunships, but shoulder-fired AA at Tier 1. Restricted aviation never means helpless against air.
The next safehouse transfer prepares in three seconds. The exit is still marked for all three.
Nearby infantry move 20% faster for eight seconds. Firing, capturing or boarding ends it.
Up to three safehouses each deploy a temporary rifle squad and anti-armor crew for 45 seconds, after a 12-second warning at the exits.
Prepared exits cut transfer preparation to five seconds. Field restoration raises salvage-truck repair from 30 to 40 HP per second.
Move a protected formation, set up temporary defensive coverage, absorb a manageable attack, and keep expensive vehicles alive through paid servicing.
Campaign: Operation Shieldline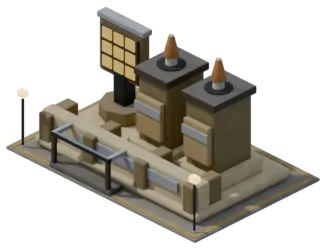
After three still seconds, Guardian tanks dig in and take 15% less direct-fire damage. Artillery, aircraft and blasts ignore it.
Deploys in three seconds to protect a ten-tile radius from missiles. One charge, rebuilt every 30 deployed seconds, and no weapon of its own.
A deployed Service vehicle repairs two nearby vehicles at once, out of combat, and every point of HP is paid for.
The toughest APC in the game at 850 HP. It costs more, and its passengers are not invulnerable.
One HQ supplies 80 extra power for 20 seconds. It ends if that HQ is disabled.
Repair sources within eight tiles work 1.5 times as fast for twelve seconds. Still paid, still out of combat only.
A ten-tile zone for 25 seconds: vehicles take 20% less air-to-ground damage and missile defenses recharge twice as fast.
Mobile service crews speed up deploy and pack-up. Integrated interception cuts Aegis recharge from 30 to 25 seconds.
Every faction has early scouting, infantry and anti-vehicle answers, air defense, repair, transport, capture, siege and a late-game closer. These are the contests the design is aiming for, and the warning signs playtests should catch.
Aircraft efficiency and fighter escort against drone cost, vision and missile timing.
Warning sign: fighters erase every drone strategy, or cheap drones overwhelm any equal-budget defense.Air mobility and recon against covered infantry and attacks on several ground positions.
Warning sign: Rebels can't defend before the first aircraft, or concealment has no affordable answer.Flexible sorties against durable mobile coverage.
Warning sign: Saudi defense creates a no-fly map, or US always bypasses the deployment commitment.Vision-supported siege against mobile infantry and safehouse routes.
Warning sign: long-range pressure ignores spotting, or safehouse transit can't be interrupted.Banked volleys against finite mobile and fixed interception.
Warning sign: interception becomes permanent immunity, or saturation makes defense pointless.Flanks, sabotage and map breadth against a stronger direct formation.
Warning sign: Rebels also win frontal armor fights, or Saudi can never be displaced.Balance is unproven. The numbers are an internally checked starting point, not measured win rates. Human playtests across these six pairings are one of the most valuable things you can contribute. How to help playtest